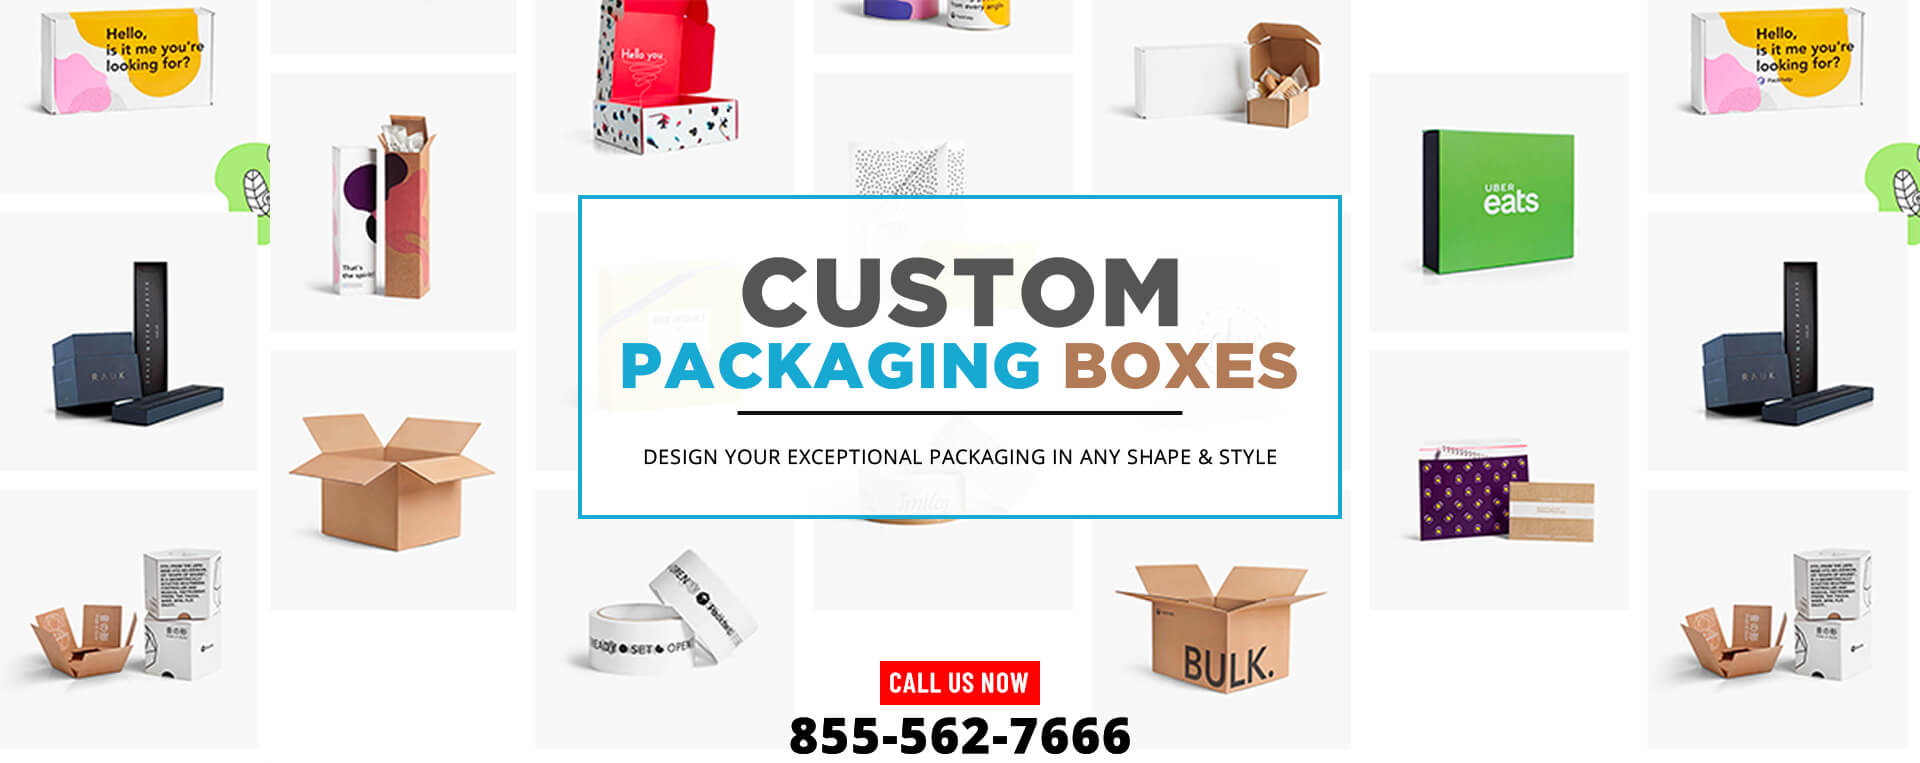
Making Custom Printed Gift Boxes
Are you searching for a creative way to present your gift cards? Look no further! We are excited to reintroduce a project that has been a favorite among many: a gift card holder template that can be used for any occasion. This easy-to-follow guide requires only woven fabric scraps, iron-on fusible interfacing, snaps, and ribbons to create unique Custom Printed Gift Card Boxes. During the holiday season, gift cards are a go-to present for many people. However, giving a little extra effort to make your gift stand out is always a good idea. With this DIY gift card holder, you can add a personal touch to your gift and make it extra special. It’s not just for Christmas; you can use this idea for any occasion, such as birthdays, weddings, or showers.
Customize Gift Card Boxes According to Your Choice
This gift card holder is versatile and can be customized to your liking. You can use any stamps, ink, and paper you have on hand. You can still create a unique design even if you don’t have the same stamps used in the samples. Today, we will focus on the process of cutting, scoring, folding, and creating the gift card holder. With a little bit of creativity, you can make a gift card holder that matches your recipient’s interests and personality.
Creative Way to Give Custom Printed Gift Card Boxes
If you’re looking to add a personal touch to your gift card giving this season, try making your own custom printed gift card boxes. All you need is some cardstock and a template with the measurements for cutting and scoring. Once you have your pattern, you can easily create holders that fit the occasion or holiday. The best part is that you can customize your gift card holders as much or as little as you want. Add extra layers, embellishments, or other decorations to make them truly unique. These DIY fabric gift card holders are also a great way to use up scraps of fabric and add an extra special touch to your gifts. So why not give it a try? Making your own gift card holders is quick, easy, and fun!
Materials Needed to Make DIY Custom-Printed Gift Card Boxes
To create this project, you will need some woven fabric scraps that measure approximately 12 inches in length and 5 inches in width. Also, you will require iron-on fusible interfacing, snaps, and some ribbon or other embellishments (optional). If you wish to use a pattern, you can download it online and print it out. However, you can also cut your rectangles to measure 6.5 inches in length and 4.5 inches in width if you prefer not to use the pattern. It’s worth noting that we will be using a 1/4-inch seam allowance for this project.
Construction Of DIY Custom-Printed Gift Card Boxes
Step 1: Before cutting out the fabric, if you use a pattern piece, place it on the fabric accurately. It is important to note that the snowman images might appear upside down on purpose. Therefore, if you have directional fabric, ensure that the curve or point is upside down at this stage because we will fold it over when we are done.
Step 2: After cutting out the main fabric, repeat the process with the lining and the fusible interfacing. Once the materials are ready, iron the interfacing to the wrong side of your main fabric. Follow the instructions provided by your interfacing manufacturer for the best results.
Step 3: Optionally, if you plan to add any embellishments to your custom printed gift card boxes, this is the right time to do it. You can baste them on with a longer stitch. If you want to add a loop, cut about 4 inches of ribbon, and pin or baste it in place 4 inches up from the bottom of the rectangle (where the loop in white is in the picture above). Furthermore, if you were planning to add pom trim, it should hang upside down at this stage (not like pictured).
Step 4: To begin with, place the lining fabric on the right side with the main fabric. Now, carefully sew all the way around the edges, making sure to leave a gap of about 2-3 inches at the bottom. This gap will be useful later for turning the fabric right sides out.
Step 5: After sewing, clip the corners of the fabric, ensuring that you do not cut the thread. This will help in creating a clean and crisp corner. Once done, carefully turn the fabric right sides out. Next, press the seam allowance where the opening is to the inside. This will help to make the seam less visible and give it a neater look. Now, focus on sewing just along the bottom where the opening is. Be sure to backstitch at both the beginning and end of the stitches.
Step 6: With the lining fabric facing towards you, fold the bottom of the rectangle up by 2 inches. Now, use pins to hold everything in place. At the end, sew along the sides and the top, as shown here. Again, remember to backstitch at both the beginning and end of the stitches. Following these steps will help you create a clean and professional finish.
Step 7: To apply snaps, you need to first decide on the placement. Look for the perfect spot where you want to attach them. Make sure that the snaps will meet when you fold the top down. This will ensure a secure fit and prevent any accidental opening or tearing off of the snaps. Once you have found the desired location, you can proceed to attach the snaps. Simply align them properly and press them firmly together. You might need to use a pair of pliers to ensure a tight grip.
Congratulations, you’re all done! Now, you can easily slip your custom printed gift card boxes into the holder and present it to your loved ones. This personalized and easy-to-please gift will surely bring a smile to anyone’s face.